Showing posts with label Chocolate. Show all posts

Wednesday, 25 September 2013

Peanut Butter Cup Pancakes.


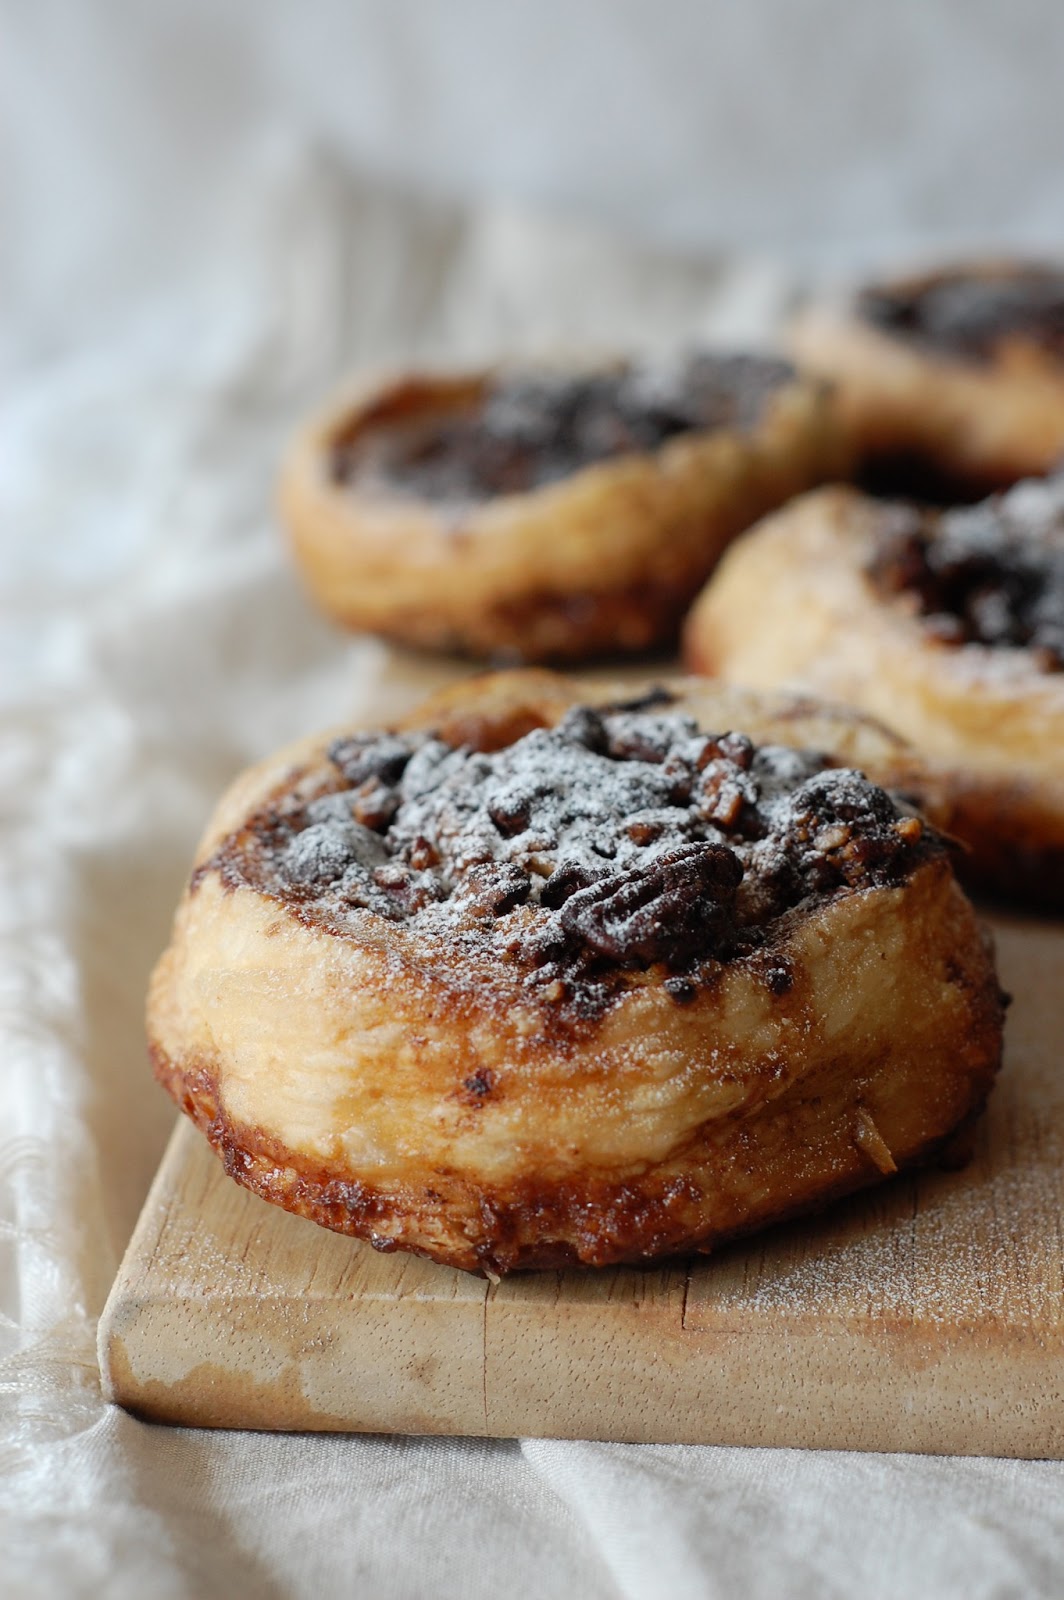
PEANUT BUTTER CUP PANCAKES. Mmmmmhummmm. That's right. And not Reese's Cups IN pancakes...actual peanut butter cup pancakes. Like...a layer of chocolate pancake and a layer of peanut butter pancake IN ONE PANCAKE. I'm quite excited about this discovery...can you tell?


I can't really claim it as my very own discovery...like Christopher Columbus, someone had been there before me. But also like Christopher Columbus, I'm going to pretend like I've discovered the best thing ever and I should get allll the credit. 


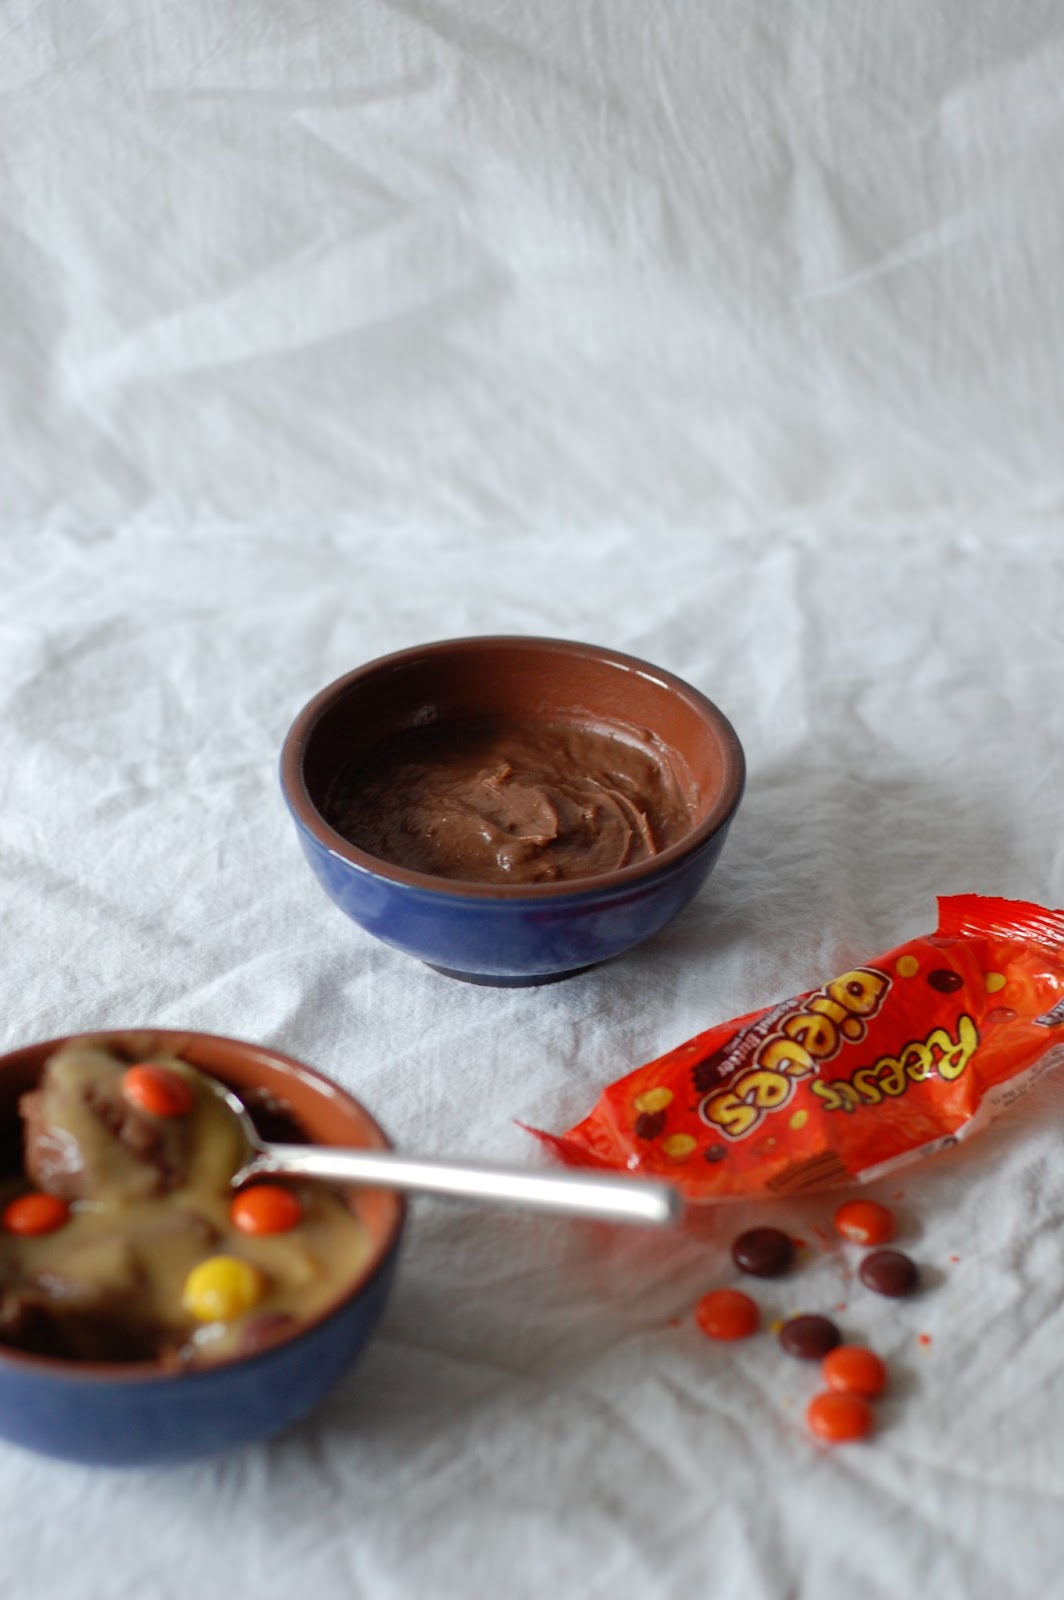
I think these would make really great dessert pancakes with ice cream and chocolate sauce...otherwise make sure you've got a realllllly busy day of running around ahead of you so as to feel justified in sprinkling chopped up actual Reese's Cups on the pancakes.....


Or maybe you had a really busy day yesterday and you need a reward today, or perhaps you've got a hardcore day tomorrow and you need sustenance in preparation, or maybe it's your birthday, or your friends birthday....whatever, just make sure you make these, chuck chocolate at them and have a bloomin' good time. With Love and Cake.


Peanut Butter Pancakes
A few notes:
  • This is just my recipe for peanut butter pancakes split in half and cocoa added to one half. You could add cocoa to the whole thing and just have chocolate peanut butter pancakes without the layering and save a bowl.
  • I served mine with butter and the chopped Reese's Cups but I can imagine they would be scrumptious with Nutella or even chocolate sauce and ice cream.

Makes about 10, depending on how big you want them
You will need

A non-stick frying pan

250g self-raising Flour
2 tbsp sugar
1 tsp baking powder
1 cup milk
1 egg
2 heaped tbsp peanut butter
2 tbsp cocoa

  • Get your pan on a medium heat.
  • Pop the flour, sugar and baking powder into a bowl and give everything a stir.
  • Now whisk in the milk and egg, followed by the p. butter. You'll have quite a thick, stiff batter.
  • Now add half the batter to another bowl and stir the cocoa into one of the halves...adding a little milk if it gets too stiff to manage.
  • If you want a little help with non-stickness, grease your pan with a bit of butter.
  • Now spoon heaped tablespoons of the chocolate batter into the pan and on top of each add about the same amount of peanut butter batter.
  • Cook for a few minutes and when bubbles start to show on the up-facing surface, give the pancake a flip and cook for another few mins.
  • Keep in a warm oven while you get on with the rest.

Sunday, 22 September 2013

Coconut Oil Chocolate Chip Cookies.


I'm having one of those annoying days today where I feel tired and grumpy for absolutely no reason whatsoever...I slept good and I just did a clever internet thing where I downloaded an update for my digital radio which I've been meaning to do for aaaaaaages....you see, life is good, but all I really want to do is sit in a ball and watch Gilmore Girls all day long with a hot water bottle on my knee (though I won't lie I am doing the hot water bottle thing right now anyway).


It's probs because of the poopey weather we've had this week which has got in the way of my total denial that summer is over. HOWEVER, I've just realised that I've already waffled on about the weather for multiple posts already and it's still only September so I really should just shut up and accept that I live in Scotland or move to somewhere in the Indian Ocean.....I'll decide later.


In the mean time I think the answer is cookies. Chocolate chip cookies of course because what else is more cheering? And please don't get me wrong with the whole coconut oil thing...I am nooooooot putting it in biscuits because I've decided it's time to join a commune and grow my own hemp...I'm using it because I bought a big jar of it a while ago to play with and I've mostly been slathering it on my poorly feet when they're angry at me for making them run too far....turns out that doesn't actually use a huge amount, so I thought I'd give it a go in the kitchen. Using it as a butter substitute, as in spreading on toast, doesn't seem right because I LOVE BUTTER and why would you want to meddle with the alchemy of melty butter on toast, but I did fancy having a go at adding the subtle coconutty scent to a spot of baking.


Turns out it's not so subtle and those who are lucky enough to get offered one of these delights will know your ploy before they've even tasted it...but I like it...and if it helps you to go down the hemp route you can definitely convince yourself that you're saving our health by eating the cookies. So if you've got the blues, weather induced or not, make these...or move to Mauritius. With Love and Cake.


Coconut Oil Chocolate Chip Cookies.
adapted from lots o' different recipes for the internets

A few notes:
  • If you don't have any coconut oil and don't fancy purchasing then just replace it with butter or hop over to this recipe which are the best chocolate chip recipes evs.
  • You could also twiddle and fiddle with the chocolate here...I use chopped chocolate rather than chocolate chips because it's better chocolate but you use what ever you fancy...white chocolate would be fabby I'm sure.
Makes about 15
You will need

2 x baking sheets, greased

150g coconut oil
190g soft brown sugar
90g caster sugar
2 eggs
1 tsp vanilla
295g plain flour
pinch salt
200g dark chocolate, roughly chopped

  • Preheat the oven to 180˚c.
  • Beat the coconut oil and two types of sugar until fluffy.
  • Beat in the eggs one at a time followed by the vanilla.
  • Fold in the flour, salt and chocolate so you have a stiff dough.
  • Dollop tablespoonfuls of dough onto your baking sheet, leaving a good couple of centimetres between each one for the cookies to expand.
  • Bake for 15-20 minutes, until bronze around the edges but still soft in the centre; don't worry about them being underdone, it'll mean they're nice and soft.
  • Leave the cookies to firm up on the baking sheet for 10 minutes before transferring to a wire rack to cool completely.  


Sunday, 1 September 2013

Chocolate Beetroot Cake.


Did you know beetroot is practically magic. There are trillions of studies all about it, saying how it makes you stronger and speedier and how it makes hard things like running up hills feel less hard. Runner's World are allllways going on about it.


I think if you're, like, a proper mentalist fitty, you're supposed to do shots of the juice at exactly 18 minutes 37 seconds before you run or something...but I think that's only because most people haven't heard that it goes bloomin' great in chocolate cake. 


And that's not in a 'let's take all the goodness out of this cake because I couldn't possibly let gluten/dairy/anything actually tasty past my lips'...no, it is just a really brilliant addition in that it adds unbeatable moistness and something a bit earthy in flavour. Fear not, there is still pleeeenty of butter and sugar and good stuff to keep you going.


So I hope for your sake that you have a Nana and Grandad that grown squillions of fruit and veggies and ring you especially to check what you might want and that you have parents that drive 500 miles to see you and deliver the goods...you could always go to a supermarket I suppose but that just doesn't seem like it would be as much fun. With Love and Cake.


Chocolate Beetroot Cake.
A Nigel Slater recipe

A few notes:
  • To cook beetroot, just chuck it in a pan of cold water, bring it to the boil and boil away until tender when you insert a knife...timings are a bit useless because beetroot vary so much in size, especially if you're using home grown stuff, but check first after 20 minutes and then every 10 minutes after that. Once cooled enough to handle the skin will rub off easily with gloved hands or a knife. 
  • You could indeed use the ready cooked stuff that comes vacuum packed in its own juice...just please oh please make sure you don't get confused and buy the pickled stuff.
  • If you don't have a food processor, you could grate the cooked beetroot finely with just an ordinary cheese grater.


You will need

1 x 20cm loose bottomed cake tinned, greased and base lined

200g dark chocolate
4 tbsp hot espresso
200g butter
135g plain flour
1 heaped tsp baking powder
3 tbsp cocoa
5 eggs, separated
190g caster sugar
250g beetroot, cooked and peeled and blended to a paste in a food processor

  • Preheat your oven to 180˚c.
  • Break the chocolate into a heatproof bowl and set over a pan of just-simmering water without letting the bowl and water touch.
  • Leave to melt slowly before stirring in the coffee and butter.
  • Remove from the heat and allow the butter to slowly melt, stirring occasionally.
  • Meanwhile, mix together the flour, baking powder and cocoa and set aside.
  • In a clean bowl whisk the egg whites until they form stiff peaks. 
  • Fold the sugar into the egg whites and set them aside too.
  • Now beat the egg yolks in a fairly large bowl until frothy.
  • Stir the beetroot into the yolks, followed by the chocolate mixture.
  • Fold in the egg whites and finally sift over the flour mixture and fold that in too.
  • Pour the batter into your cake tin and bake for about 45 minutes, until the cake is firm and skewer comes out clean....I would have a check after 35 minutes.
  • Leave to cool in the tin before turning out and serving with whipped or pouring cream.


Thursday, 15 August 2013

Mississippi Mud Pie.


I can't really think of a Mississippi Mud Pie, let alone type about it, without thinking of Matilda and Miss Honey....m i s s i s s i p p i. And then there's Bruce Bogtrotter and his triumphant cake munching...but here's the thing, I don't think even Matilda could help Bruce get through this beast of a pie in one sitting.


And let's be clear of the context...if you've ever say to me 'mmm it's nice but, myyy, it's awfully rich'...we probs aren't be friends anymore...I most likely cut you out for good. Because come ON, what sort of dessert wimp are you...try harder. 


So now I've clarified my commitment to sugar endurance (if it weren't already clear), you will understand that when I say 'serve this is smaller portions than you naturally would' I really really mean it and am not just lacking dessert stamina. I'm not very good at following my own advice though, because this pie is heaven on a plate and I don't want LESS...so my tactics are run harder and eat tofu for tea.


This pie heaven is dedicated to little sis, whose birthday it was over the weekend, and while I know she will never make it herself (hangs head) I hope the rest of you do, because, myy this is NICE and really RICH. Mmmm. With Love and Cake.


Mississippi Mud Pie.
recipe adapted from delicious. magazine

A few notes:
  • Alcohol wise, I used cherry brandy because it seemed best out of what I had...rum is traditional as far as I understand, but Bourbon seems like it would work well too.
  • If you want the mousse super firm, and therefore able to maintain it's shape better than mine has for serving fancyness, it might be worth putting the cake in the freezer for 15 minutes or so.
  • When I say espresso powder I mean espresso powder, which is not the same as instant coffee.
Serves plenty...at least 10
You will need

1 x 23cm loose-based or springform cake tin, greased and based lined

For the base
300g Oreos
75g butter, melted

For the cake
200g dark chocolate
1 tbsp espresso powder
50ml cherry brandy
100g butter
pinch salt
150g caster sugar
3 large eggs
2 tsp vanilla extract
50g golden syrup
30g plain flour

For the mousse and top
550ml double cream
250g dark chocolate, plus extra to decorate
4 eggs, separated
80g icing sugar

  • First we'll make the base. Whizz the Oreos to a powder in your food processor.
  • Add the melted butter and pulse together.
  • Tip into your cake tin and press down to a smooth compact layer.
  • Chill in the freezer while you get on.
  • Now we make the cake. Preheat the oven to 180°c.
  • Melt the chocolate, espresso powder, cherry brandy, butter and salt in a medium sized pan over a low heat.
  • When it's turned into a glossy chocolate sauce whisk in the sugar.
  • Remove from the heat and whisk in the eggs, one at a time, followed by the vanilla, golden syrup and flour.
  • Pour the batter into the cake tin over the Oreo base and bake for 30-35 minutes; until firm to the touch.
  • Leave to cool completely in the tin...this will take a good couple of hours.
  • When the cake's cool it's time to make the mousse topping. First put 250ml of the double cream and the chocolate in a heatproof bowl and set over a pan of barely simmering water to allow it to melt slowly.
  • When melted and glossy, whisk in the egg yolks one at a time.
  • In a clean bowl, whisk up the egg whites with 30g of the icing sugar until stiff peaks form.
  • Fold the whites into the chocolate mixture, a dollop at a time, until you have a billowy mousse.
  • Spoon the mixture over the cake and chill for a good couple of hours or overnight if you can.
  • When it's time to serve, whip up the double cream with the rest of the icing sugar and dollop over the cake.
  • Turn it out and serve in smaller portions than you would naturally...this is a beast that packs a rich punch.


Wednesday, 7 August 2013

Chocolate Truffle and Strawberry Pie.


I went Pick Your Own-ing last week. On maybe the rainiest day of July. It's a gooood job those strawbs grow undercover or I think you'd have to front crawl down the lanes of plants. My plan was jam, stash some in the freezer for smoothies, and this beast of a pie.


I'm always fairly conservative when I'm PYO-ing...I always think it seems like you've got SO MANY berries in your basket and that it might be really embarrassing when you get to the til and they're like 'that's £50bajillion pounds please' and then you take them home and they spontaneously combust into a pile of mould in under half an hour.


But then what always happens in real life is that they say 'that'll be 53 pence please' and I'm all 'uuuurrrm are your sure' and then I get home and think, yep, could easily have handled double the amount, dammit. MUST remember that for next year....


What I must also remember is that things that are best chilled before eating are also best chilled before photographing. You see I got ahead of myself and photied this luscious lady of a pie before she'd had her chill time and it means you don't get a good enough sense of the chocolate velvetyness that's shining beneath all that cream and fruit. You'll have to take my work for it though....my word is MAKE THIS PIE. With Love and Cake. 


Chocolate Truffle and Strawberry Pie.
Adapted from a Bakers Royale recipe

A few notes:
  • Eat ASAP...I mean, why wouldn't you.
  • You could just throw a lovely layer of fresh strawbs on top rather than cooking them up...I did both.
Serves 8
You will need

1 x 18cm tart tin or pie dish


For the pastry
175g plain flour
25g cocoa powder
50g icing sugar
100g butter, cold from the fridge, cubed
1 egg yolk
2-3 tbsp cold water

For the chocolate filling
170g dark chocolate
1 tbsp butter
225g cream cheese, at room temperature
30g icing sugar

For the top
250ml double cream, lightly whipped
350g strawberries, halved or quartered
75g icing sugar 
2 tsp cornflour 

  • First we must make the pastry. Pulse together the flour, cocoa and sugar in a food processor (or sift into a bowl).
  • Then add the butter and pulse until the mixture looks like fine breadcrumbs (or rub in with your finger tips).
  • Add the yolk and 2tbsp of cold water and pulse until a soft dough forms, adding more water if necessary.
  • Remove the dough from the processor and gently form into a disc. Wrap in clingfilm and rest in the fridge for around 15 minutes.
  • Next, roll the pastry out to about the thickness of a pound coin on a floured surface. I used the cling film it was wrapped in to cover the pastry as I rolled, to stop the rolling pin sticking, which worked well.
  • Line your prepared tin with the pastry without trimming the edges, just let the excess overhang. Gently prick the base with a fork and chill in the fridge for 20 minutes.
  • Preheat the oven to 200°c.
  • Blind bake the pastry case by lining it with a scrunched up piece of baking paper and filling with baking beans, or uncooked rice or dried beans (save them to continue to use for the same purpose, just don't cook them to eat).
  • Place the tart tin on a baking tray and bake for 20 minutes.
  • Remove the beans and paper and bake for a further 10 minutes.
  • Remove from the oven and leave to cool and crisp up while you get on with the filling.
  • Melt the chocolate and butter gently in a saucepan.
  • Stir in the cream cheese until well combined and then remove from the heat.
  • Beat in the icing sugar.
  • To get the pastry prepared, gently slice off the excess before pouring in the chocolate filling.
  • Leave to cool while you get on with the strawbs.
  • Combine the strawberries with the icing sugar and let them stand for about half an hour.
  • Then drain the liquid off, saving the lovely ruby juice.
  • Pop the juice into a little saucepan and add the cornflour.
  • Heat the juice gently to a bubble so that it thickens and becomes syrupy, then remove from the heat and leave to cool completely.
  • Mix the cold syrup back into the strawberries.
  • Now you're ready for the final assembly...spread the whipped cream over the chocolate layer and tumble over the strawberries. 
  • Chill in the fridge for at least half an hour before turning out of the tin and serving. 


Sunday, 4 August 2013

Peanut Butter and Pretzel Squares.


You know in my last post I was all 'really must remember to chill the things that need to firm up before photo-ing'? Well I was...and this time I did...look how nice and set they are...


What I diiiiidn't do however was leave them to set before sampling them. You see I made them because I was all gross and headachey. Do you ever get it when your limbs feel all empty and heavy, like basically you're bod is an empty suit of armour. Well that...and these just seemed like THE thing for max calories and goodness to fill up all the gaps.


My lack of a proper body when making these should show you how easypants they are...less easy though was to make them for an emergency and let them do the chilling thing....so yeaah, I ate some, all gooey, with a spoon and had to straighten out the edges when they were actually ready for their close up.


They worked though and I'm back to being full on sparky-pants again...maybs I should let the British Medical Association in on the secret...they could give them out on prescription. With Love and Cake.


Salty Peanut Butter and Chocolate Bars.
Adapted from a Cookies and Cups recipe

A few notes:
  • Without pretzels...these are basically these, so check them out if you're not a pretzel person.
  • I think these would be a tad more annoying to make without a food processor but definitely not impossible...use an electric whisk or mixer or just a good old wooden spoon to do the beating.
  • You could make this in any receptacle really...I used a square tin, about 20 x 20 cm, but round would work too, then you could cut wedges rather than squares.
Serves 1 empty person plus a few others
You will need

300g smooth peanut butter
100g unsalted butter, at room temperature
225g icing sugar
50g pretzels, crushed up a bit, plus extra for the top
100g dark chocolate, broken into pieces

  • Line your receptacle (see notes) with foil.
  • Pop the peanut butter, minus 50g which you want to save for later, and butter in the food processor and whizz to combine.
  • Add the icing sugar and whizz to a sandy mixture.
  • The mixture into a big bowl and stir in the broken up pretzels.
  • Press into your foil lined tin.
  • Melt together the chocolate and remaining 50g of peanut butter, either in a saucepan over a low heat or in the microwave, until smooth and shiny.
  • Pour over the peanut butter layer and scatter over a few whole pretzels.
  • Chill until the chocolate is set before turning out and cutting as you fancy.


Wednesday, 24 July 2013

Double Salted White Chocolate and Oat Cookies.


You may not think it from just a glance, but these, I think, are mighty fancy cookies. Like Coco Chanel, they've taken off their extra accessories at the door to allow their understated chic-ness to do all the talking. That's right...I just compared Coco Chanel to cookies.


Think of the salt ('double' because there's table salt IN the cookies and sea salt ON them) as diamonds and the white chocolate as pearls tumbling down their back a la Coco. And all the rest is a little black dress. Nothing frilly...just taste.


They're the sort of biscuits, no sorry cookies...because they're big and bendy...that you could serve for a dessert with coffee. If you're a dinner party type that is. 


Or if you're feeling less fancy you could do what I did last night and use them to make ice cream sandwiches...can't quite imagine a Parisian fashion Goddess doing as such but I live in Fife, it's not quite the same. With Love and Cake.


Salted White Chocolate and Oat Cookies.
From a smittenkitchen.com recipe

A few notes:
  • You could very happily change the chocolate here...super dark would be fab.
  • This makes a fair amount of cookies, and they spread out a lot on baking, so you'll need lots of space on your baking sheet. I therefore find it easiest to bake in batches...but you could use multiple baking sheets and swap their positions in the oven around half way through baking.
  • Use the best white chocolate you can justify...Green and Blacks is my fav.
Makes 20-24
You will need

a baking sheet, greased

200g butter, at room temperature
200g caster sugar

1 egg
1 tsp vanilla extract
130g plain flour
3/4 tsp baking powder
1/2 tsp bicarbonate of soda
1/4 tsp table salt
55g soft brown sugar
210g oats
180g best white chocolate, roughly chopped
sea salt

  • Preheat your oven to 180°c.
  • Cream together the butter and caster sugar until pale and fluffy.
  • Beat in the egg and vanilla extract.
  • Gently stir in the flour, baking powder, bicarbonate of soda, table salt and brown sugar until fairly well combined.
  • Tumble in the oats and and chocolate and stir in until evenly distributed....it will look like you're adding loads and that you'll never stir it all in, but keep going and you will.
  • Pull off pieces of dough, about 1 tablespoon at a time, and roll it into a ball in your palms.
  • Flatten a little as you place them on your baking sheet, leaving enough space for each one to at least double in size...for me this means baking in batches (see note).
  • Sprinkle each little patty with a good pinch of sea salt before baking for 13-16 minutes....look for them to reach a pale gold colour if you want them to remain a bit bendy when cooled. This will mean they are very soft straight out of the oven so leave them to firm up for a few minutes on the baking tray before carefully transferring to a wire rack to cool completely.


Sunday, 30 June 2013

Chocolate and Peanut Butter Lollys.


So here we are, turns out I'm not a total div and can actually work lolly makers...yes I KNOW they're made for kids and 5 year olds can do it....I worked it out in the end OK.


You see I thought that maybe if I let them sit too long in boiling water that I'd be left with Chocolate and Peanut Butter puddles, so i didn't soak them long enough. Turns out no, it's fine, the boiling water trick works perfectly, especially because even when these chaps do melt, there's no puddleyness, they just kind of soften while holding their shape.


So I suggest you go and make these now, eeeeeven if it's not sunny. Actually I think 'especially' if it's not sunny, because you don't want to be kitchen bound and freezer waiting on those days, you want to be one of those cool folks that just causally offers homemade lollys, all prepared and smug like. Well that's my version of cool anyway...NO I'm NOT listening to The Backstreet Boys right now...I don't even know why you ask. Ahem, back to being cool.


Sorry about the whole 'two posts in a row that require specialist equipment' thing. In my defense, I have already demonstrated that you can make these without freezing them in lolly makers...in fact you could freeze them in ramekins and eat them with a spoon...but also, lolly makers are a super bargain and you probably should buy some anyway, you know, for the smug thing. With Love and Cake.


Chocolate and Peanut Butter Lollys.

So it's simple really, just head on over to this recipe, make as described and instead of pouring the mixture into ramekins, divide between your lolly maker and get in the freezer for a day of so.

To remove them from your lolly maker, which is where I struggled, stand them in a bowl of freshly boiled water. Honestly don't worry about them melting, you can leave them in for a good few minutes or so. Then pull them gently out. Voila. 

Sunday, 23 June 2013

Chocolate and Peanut Butter Cups.


This was one of those things that I didn't see coming. I had not planned on making anything like peanut butter cups...though now I come to think of it this seems to be a foolish stance. What was happening you see was that I was getting full on into this summer malarkey and making lollys in my lolly maker.


The thing is, I haven't actually done that for several millions of years because the Scottish summer has not exactly warranted such cool aids. This year I'm excited though, I feel like the North East of Fife is aaaaalmost winning at the weather (South East England is in a different league so I'm not competing with them).


 So yes, I filled my lolly maker with the delicious mix you see before you but then forgot how to get the lollys out when they are frozen. HOW do you DO THIS? I did the whole dunking in warm water thing, the waitingwaiting until it softens and releases but in the end I just pulled out the middle stick thing so I'm left with frozen chocolate goo that I'm going to have to eat out of the lolly maker with a spoon (throw it away you say? What? I don't understand you?).


Happily I made waaaay too much mixture and am clever enough to realise that it would make a yummy little dessert not frozen...similar to what those American folks would call pudding or Italians call budino di cioccolato, so I wasn't stuck for a dessert. Phew. Now help me....how to I get them out...I can't have a lolly-less summer. With Love and Cake.


Peanut Butter and Chocolate Cups
Adapted recipe from Craft, Bake, Sew, Create.

A few notes:
  • You can top these with whatever you like really. Pictured is a topping of salted caramel sauce and Reese's Pieces...pretty darn good, but a spot of whipped cream would be nice and 80s American diner style should you be feeling that way inclined.
Serves 4
You will need

75g granulated sugar
15g cocoa
1 1/2 tbsp corn flour
300ml milk
1 tsp vanilla
35g butter
1 heaped dessert spoon smooth peanut butter

  • Whisk together the sugar, cocoa and cornflour in a medium saucepan.
  • Gradually whisk in the milk and set over a medium heat.
  • Bring to the boil and let bubble for about 1 minute, whisking fairly continuously.
  • Remove from the heat and whisk in the vanilla, butter and peanut butter; at this point you should have a thick, shiny mixture.
  • Pour into 4 ramekins and top each one with clingfilm, allowing it to touch the surface of the mixture all over.
  • Allow to cool completely before chilling in the fridge and topping with something yummy.

Wednesday, 22 May 2013

Chocolate and Pecan Puffs.


These are the result of a little Twitter chat I had with a school friend who, until recently, I hadn't conversed with for YEARS (how can there be THIS many years between me and school....are you suuuuure I'm 25?).


He told me he and his lady friend had just eaten the most amaaazing pecan and chocolate puff and I must make it immediately. No picture, no description, just chocolate and pecan puff.


I love such cakey chat because it's a twist to how I usually approach this whole bakey thing. Usually I look at a recipe and it looks yummy so I make it, or I want a cheesecake, so I look up cheesecake recipes and twiddle with them until I have one that suits, or I have some really nice something that would go great in a something so I make it.


But this way it's sort of a puzzle. And everyone loves puzzles. There's no better game than squishing pastry and chocolate and nuts together and seeing what you can come up with. Come to think of it, maybe you should ignore my recipe and squish them together in your own way...it's fun. My recipe is reeeeeally good though, so either way. With Love and Cake.


Chocolate and Pecan Puffs.

A few notes:
  • These are the sort of things that could happily be tinkered with in accordance with what you fancy or what you have in your cupboards...maybe no chocolate but lots of cinnamon, maybe no nuts, maybe different nuts....
  • You could of course use your own homemade puff pastry. They might not be quiiiite as light and puffy, but your sense of pride might be.
Makes about 10
You will need

1 x baking sheet, well greased

150g pecans
175g butter, softened
100g soft brown sugar
pinch salt
500g block puff pastry
100g dark chocolate, chopped

  • Preheat that oven of yours to 180°c.
  • Lay out your pecans on the baking tray and bake for 10-15 minutes, until bronze and smelling yummmmy.
  • When they're cool enough to handle, give the nuts a rough chop.
  • Mix the butter, sugar and salt together to a smooth paste.
  • Roll out the pastry on a clean floured surface to a large rectangle; about 30 x 50cm.
  • Spread the butter mixture over the pastry, leaving a 1cm border.
  • Sprinkle over the pecans and chocolate, saving back about a tablespoons worth of each for sprinkling later.
  • Now roll up the pastry like a Swiss roll from one of the longer sides.
  • Cut into 3cm-ish slices and lay each one flat on your baking tray with a few cm gap between each one to allow for them to expand. 
  • Sprinkle a bit of the reserved chocolate and nuts over each slice
  • Bake for 40 minutes, by which point they should be golden and crispy.
  • A fair amount of buttery goodness may have leaked out and be sloshing around the pan. I just scooped it up with a spoon and gave everything a good baste.
  • Transfer to a wire rack to cool.