Is it Thanksgiving this week? I think it must be. And I've got to say I'm quite sad that we don't have it over here. In mean, obvs not the whole 'make a sparkly holiday out of pretending that us European folk didn't skip on over across the sea to wipe out a whole sophisticated population' sort of thing, that seems kind of weird and mean....but a whole holiday, just in time to kick off Christmas, all about being grateful...that seems like a good idea to me

And from my very outsider perspective it seems that it kind of takes the pressure of Christmas a bit too, because it's 'The Holidays', whole long weeks of fun...rather than getting all in a faff because everything has to be perfect on the one day that counts. And given that you, little sis, are a full on American resident these days, you are gonna need a pie...another reason we should get Thanksgiving, it's a pie festival... you can't turn up anywhere without a pie this week, I'm pretty sure it's US a law. So better get baking. With Love and Cake

.
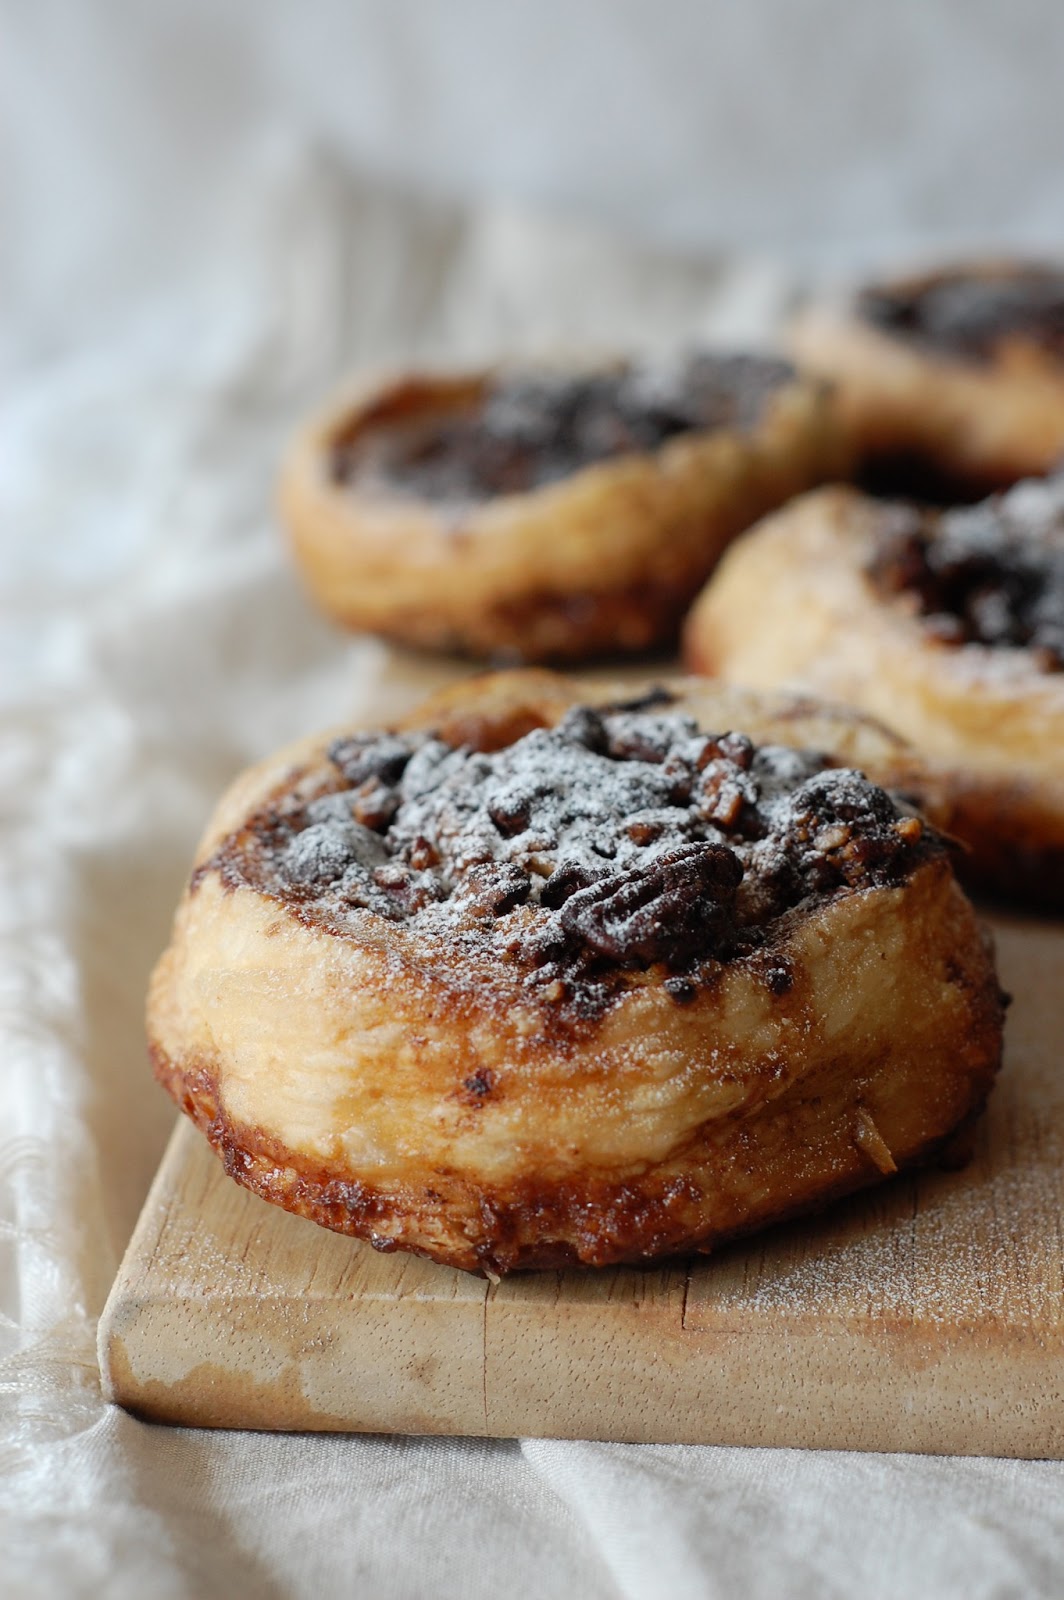
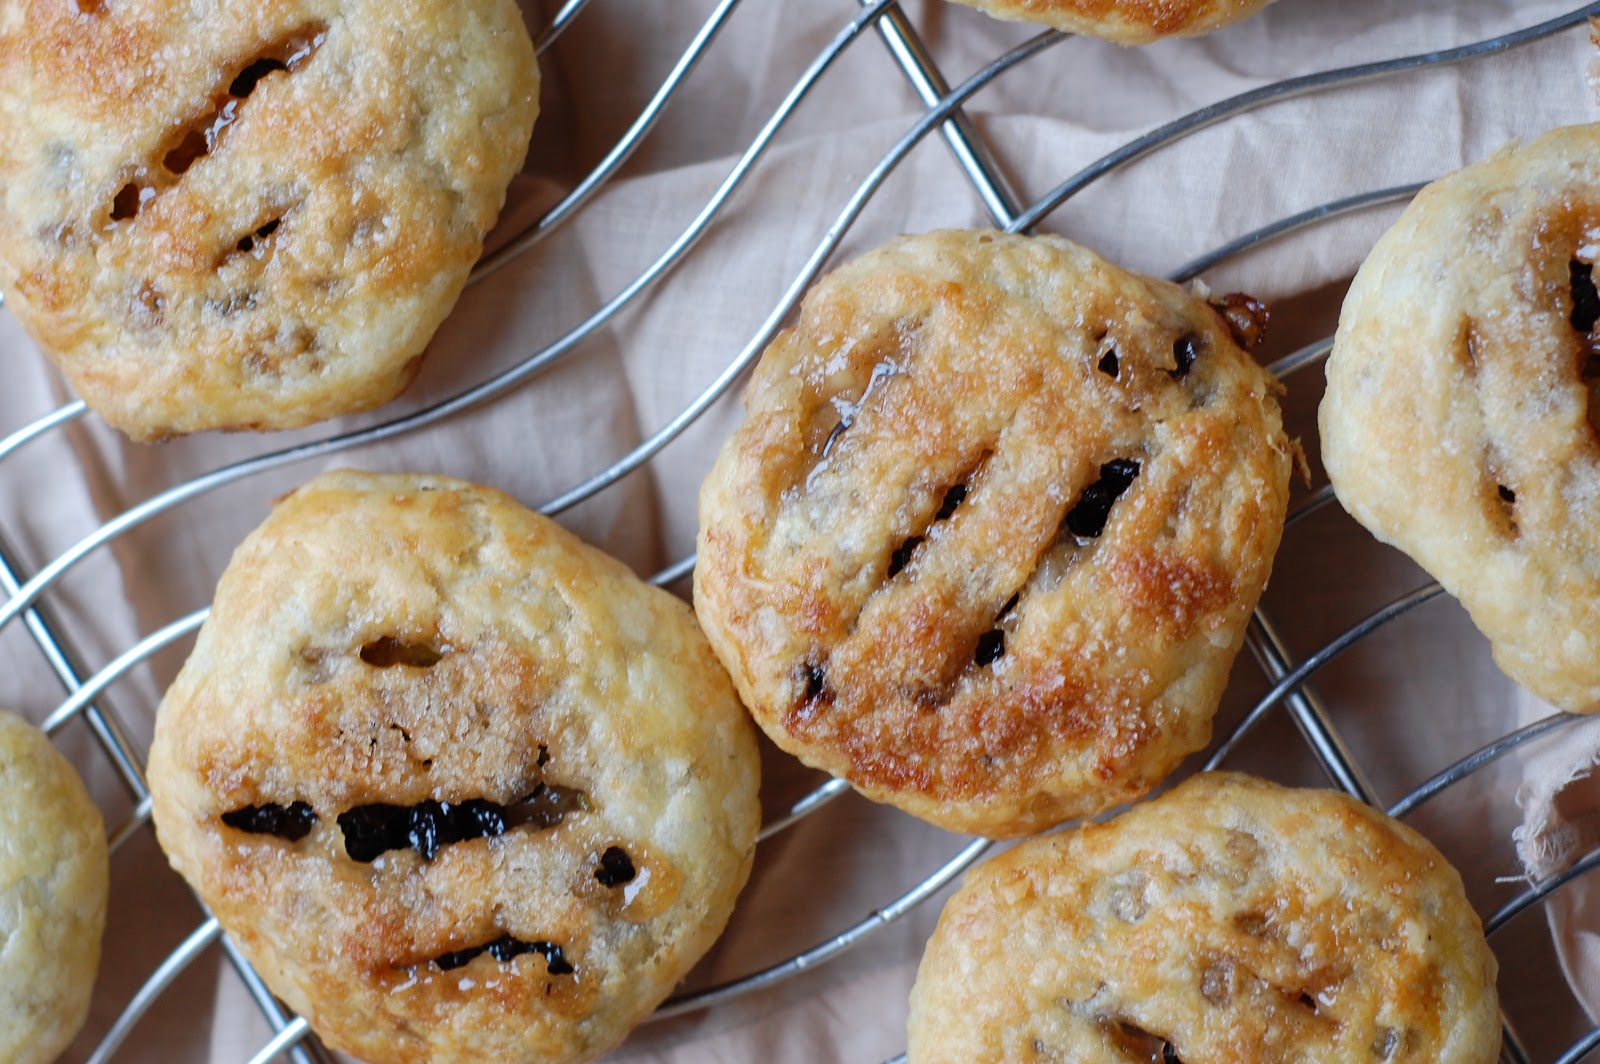
Pecan Pie
Recipe from The Essential Dessert Cookbook
A few notes:
- You could use any tart case you like really, even *faux gasp* a shop bought one.
- If you have any spare pastry and want to prettify you could cut some pretty shapes, stars or hearts, and lay them on top of the pecan layer before you bake.
- As usual, I've made my pasty in my food processor but, as ever, you can definitely make it by hand if that's what works for you. Just rub in the butter with your finger tips and bring the dough together by hand.
Serves 6
You will need
1 x 23cm tart tin
For the pastry
185g plain flour
125g butter
2-3 tbsp cold water
For the filling
200g pecans
3 eggs
50g butter, melted
140g soft brown sugar
170ml golden syrup
1 tsp vanilla extract
pinch salt
- First lets make the pastry. Pulse the flour in a food processor (or sift into a bowl) then add the butter and pulse until the mixture looks like fine breadcrumbs.
- Add 2 tbsp of cold water and pulse until a soft dough forms, adding 1 more spoonful of water if necessary.
- Remove the dough from the processor roll the pastry out thinly onto a floured surface.
- Line your prepared tin with the pastry, and gently prick the base with a fork. Cut off the excess and chill in the freezer for 15 minutes.
- Meanwhile preheat the oven to 180°c.
- Blind bake the pastry case; line it with a scrunched up piece of baking paper and fill with baking beads, or uncooked rice or dried beans (save them to continue to use for the same purpose, just don't cook them to eat), then place the pie tin in the oven and bake for 15 minutes, until the edges have started to colour.
- Remove the beans and paper and bake for a further 15 minutes.
- Remove the pastry from the oven, set aside to cool.
- Make the filling by spreading the pecans over the pastry base.
- In a measuring jug whisk together the eggs, melted butter, sugar, golden syrup, vanilla and salt and then pour over the notes.
- Bake the pie for around 45 minutes or until firm. Serve at room temperature.